Nail art is a creative way to decorate your nails. It can be simple or complex, and there are endless possibilities for designs. If you’re new to nail art, start with simple designs and gradually add more complexity.
You’ll need a few supplies to get started, including polish, brushes, dotting tools, and stickers. Choose a design that you like and practice it until you get the hang of it. With a little patience and practice, you’ll be able to create beautiful nail art designs!
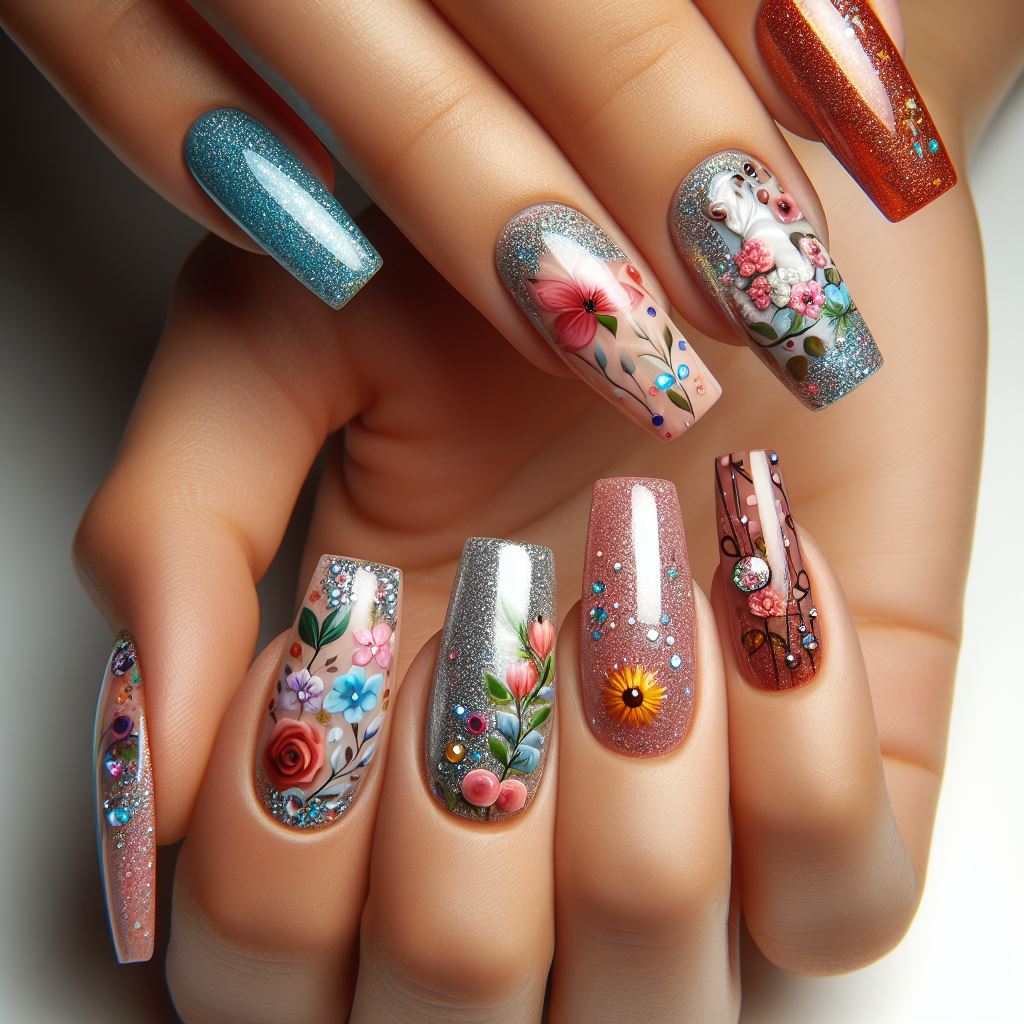
10 Nail Art Designs Using HOUSEHOLD ITEMS! | The Ultimate Guide
- Start with a clean slate: Make sure your nails are free of any polish or oils before you begin your design
- If they’re not, use a nail polish remover to clean them off
- Choose your colors: Pick out the colors you want to use for your design
- You can either use a small paintbrush or dotting tool to apply the color, or you can pour some of the polish directly onto a piece of foil or paper plate and dip your nail into it
- Create your design: Once you have your colors chosen, start creating your design on one nail at a time
- If you’re using a paintbrush or dotting tool, be sure to work quickly so that the polish doesn’t dry before you’re finished
- Once you’ve created your design on all 10 nails, let them dry completely before moving on to the next step
- Apply top coat: Once your designs are dry, apply a clear top coat to help protect them and make them last longer
- Let this dry completely before doing anything else with your nails
Preparing Your Nails for Art: The Basics
In order to create beautiful nail art, it’s important to start with a well-prepared canvas. The first step in preparing your nails for art is to take off any old nail polish and clean your nails thoroughly. This will give you a smooth surface to work on and ensure that your nail art will adhere properly.
Next, shape your nails to your desired length and style using a nail file. It’s important to make sure that your nails are all uniform in shape and length for a polished finished look. After shaping your nails, gently push back your cuticles with a cuticle pusher or orangewood stick.
This will help to create a clean and tidy base for your nail art. Finally, apply a base coat to your nails to protect them and create a smooth surface for your nail art. Following these basic steps will help to ensure that your nail art will look its best and last as long as possible.
Simple Nail Art Designs for Beginners
If you’re new to nail art, starting with simple designs is the best way to ease into the world of nail decoration. A classic beginner’s design is the French manicure, with its simple, elegant white tips. Another easy option is polka dots, which can be created using a dotting tool or even a toothpick. Stripes and geometric patterns are also beginner-friendly and can be achieved using striping tape or nail art stickers.
For those who want to add a little more flair, ombre nails are a stylish and straightforward choice. To achieve this look, simply blend two complementary colors together using a makeup sponge. Practice makes perfect, so don’t be afraid to experiment with different designs and techniques. With a little patience and creativity, even beginners can achieve beautiful nail art.
Tools You’ll Need for Nail Art
If you’re interested in trying out nail art, there are a few essential tools you’ll need to get started. Firstly, a good quality set of nail brushes is a must-have for creating intricate designs. Look for a set that includes a variety of brush sizes and shapes to accommodate different designs.
Next, you’ll need a set of dotting tools, which are essential for creating perfect dots and small details on your nails. A reliable top and base coat are also essential for making your nail art last and protecting your natural nails. Additionally, investing in a quality nail file and buffer will help you achieve smooth and even nail surfaces for your designs.
Finally, having good quality nail polish in a variety of colors will be necessary to bring your nail art visions to life. With these tools in your kit, you’ll be well-equipped to create stunning nail art designs at home.
Easy Nail Art Designs for Beginners Without Tools
Nail art is a creative way to express your personality and style. It can be simple or intricate, bold or subtle – the possibilities are endless! If you’re new to nail art, the thought of creating designs may seem overwhelming. But don’t worry, it’s not as difficult as it looks. With a little practice and some simple supplies, you can create beautiful nail art at home. One of the great things about nail art is that you don’t need a lot of supplies or equipment to get started.
In fact, all you really need is a good base coat and top coat, some polish in your favorite colors, and something to use as a dotting tool (like a toothpick or bobby pin). Once you have those basics, you can start experimenting with different designs. If you’re looking for some inspiration, check out these easy nail art designs for beginners! These 10 tutorials will show you how to create cute and trendy designs without any fancy tools or equipment.

Credit: www.allure.com
How Do You Do Nail Art for Beginners?
Nail art is a great way to express your personality and style. It can be as simple or as complex as you want, and there are endless possibilities when it comes to designs. If you’re new to nail art, start with something simple like a French manicure or polka dots.
Once you get the hang of it, you can try more intricate designs. To do a basic French manicure, start by painting your nails with a base coat of clear polish. Then, use tape or stickers to create straight lines across the tips of your nails.
Paint your nails with white polish, starting at the base of the nail and moving up towards the tip. Remove the tape or stickers before the polish dries. Finish with a top coat of clear polish to seal in the design. For polka dot nails, start with a base coat of color. Then use a dotting tool or toothpick dipped in polish to create small dots on your nails. You can make them all in one color or mix and match for a fun effect.
You May Also Like: Nail Art Studio in Gk 1
How Do You Apply Nail Art?
Nail art is a creative way to decorate your nails. It can be simple, like painting your nails with a solid color, or it can be more elaborate, like adding designs or rhinestones. You can find nail art kits at most beauty supply stores, or you can create your own designs with household items.
To apply nail art, start by painting your nails with a base coat of polish. Then, use a thin brush to paint on designs or add embellishments. If you make a mistake, you can fix it by using acetone to remove the polish and start over. Finally, seal your design with a top coat of polish and let it dry.
Frequently Asked Questions (FAQs)
I’m new to nail art. Where should I start as a beginner?
Begin with simple nail art designs like polka dots, stripes, or a single accent nail. Acquire basic nail art tools, including a nail brush, dotting tool, and striping brush. Practice on a palette or your nails with patience to build confidence and skills.
What essential tools and materials do I need for basic nail art at home?
As a beginner, gather basic tools like nail polish, a base coat, top coat, nail art brushes, dotting tools, and nail polish remover. Consider using scotch tape or nail guides for clean lines and stencils for more intricate designs.
How can I avoid smudging my nail art while it’s drying?
Ensure each layer, including the base coat, polish, and top coat, is fully dry before moving to the next step. Use thin layers and allow sufficient drying time between each coat. Consider using a quick-dry top coat to speed up the process and prevent smudging.
Can I fix mistakes in my nail art without redoing the entire nail?
Yes, you can fix small mistakes. Dip a small brush or cotton swab in nail polish remover and carefully correct any errors. Alternatively, use a nail art pen to cover up minor imperfections or add details to enhance the design.
How do I make my nail art last longer?
To prolong the life of your nail art, start with a quality base coat, apply thin layers of nail polish, and seal with a durable top coat. Avoid exposing your nails to hot water immediately after application. Consider wearing gloves for household chores to prevent chipping or peeling.
Conclusion
If you’re looking to add a little extra flair to your nails, nail art is the way to go! But if you’ve never tried it before, the whole process can seem a little daunting. Luckily, we’ve put together this helpful guide on how to put nail art for beginners. The first step is to gather all of the supplies you’ll need. This includes a base coat and top coat of polish, as well as any colors or decorations you want to use.
Once you have everything assembled, start by applying a base coat of polish to your nails. This will help the color adhere better and prevent any staining. Next, it’s time to start painting! Use a thin brush or toothpick to apply your chosen design. If you make any mistakes, simply wipe them away with some acetone-free nail polish remover. Once you’re happy with your design, finish off with a top coat of clear polish.