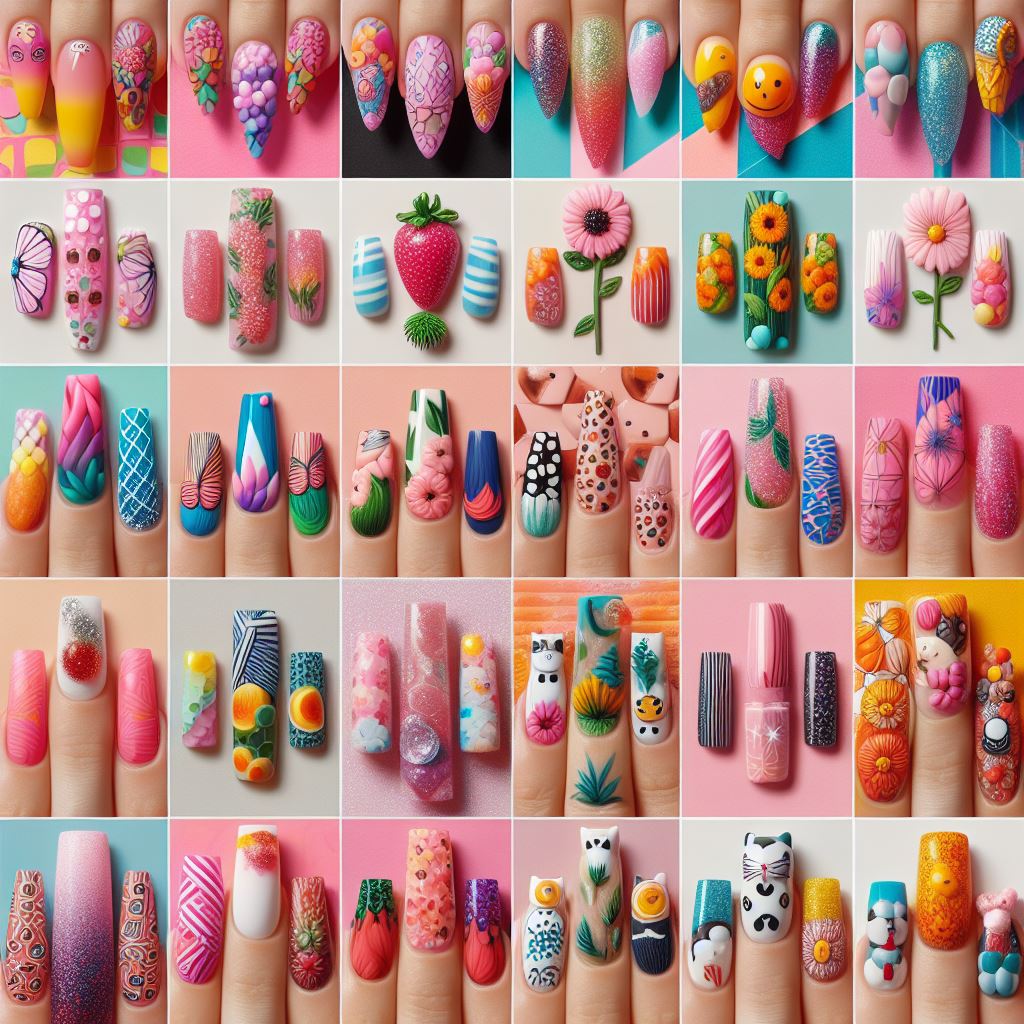
Nail art doesn’t have to be complicated or expensive. You can create simple, beautiful designs right at home with a few inexpensive tools. All you need is a little practice and patience. We’ll show you some easy nail art designs for beginners that you can do at home. Nail art designs simple for beginners can be done at home with a few basic supplies. Seal your design with a good quality top coat; this adds shine while also protecting the design from chipping or fading.
10 Easy Nail Art Designs for Beginners: The Ultimate Guide #5
Easy Nail Art Designs for Beginners Without Tools
Nail art is a creative way to decorate your nails. It is a type of beauty treatment that can be done at home or in a salon. There are many easy nail art designs for beginners without tools.
You can use household items such as toothpicks, pens, and cotton swabs to create simple designs. If you want something more complicated, there are stencils and stamps available online and in stores. Toothpicks are one of the easiest ways to create nail art designs.
You can use them to make dots, lines, and other basic shapes. Simply dip the toothpick into the polish and then press it onto your nail. Pens can also be used to create easy designs.
Use the pen tip to make dots, lines, or other shapes on your nails. You can also use the pen barrel to make larger circles or swirls. Cotton swabs are another great tool for creating easy nail art designs.
Dip the cotton swab into polish and then use it to make dots, swirls, or other shapes on your nails. You can also use cotton swabs to clean up any mistakes that you make while painting your nails. Stencils and stamps are another option for those looking for easy nail art designs without tools.
Stencils can be used to create all kinds of different designs on your nails. To use a stencil, simply place it over your nail and then paint over it with polish.
How Do You Do Easy Nail Art for Beginners?
Nail art is a great way to express your personality and style. It can be simple or intricate, depending on your preference. If you’re new to nail art, start with simple designs that you can do yourself at home.
Here are a few easy nail art ideas for beginners:
1. Start with a clean canvas. Make sure your nails are clean and free of any polish before you start your design. You can use a base coat of clear polish to help the color adhere to your nails better.
2. Choose a color scheme. Pick out two or three colors that you want to use for your design. Decide if you want all of the nails to be one solid color, or if you want to mix and match colors on each nail.
3. Paint your nails. Once you have decided on your colors, it’s time to start painting. Use a steady hand and take your time with this step. If you make any mistakes, don’t worry – just grab a cotton swab dipped in nail polish remover and fix it up.
4. Add some embellishments. Now it’s time to get creative. You can add sparkles, rhinestones, or other small decorations to make your nails stand out. Just be careful not to overdo it – too much bling can look gaudy.
How Do You Do Simple Nail Designs?
There are a few things you need to do simple nail designs. The first is to have a good base coat. This will help the polish stay on longer and also make your nails look neater.
You also need a top coat to protect your nails from chipping and peeling. The next thing you need to do is choose the colors you want to use. It is best to use light colors for simple designs so that it does not clash with your outfit or skin tone.
Once you have chosen the colors, it is time to start painting your nails. Start with the lightest color and work your way up to the darkest color. Make sure each layer is dry before moving on to the next one.
After you have finished painting your nails, you can add some finishing touches like rhinestones or glitter if you want something more glamorous. You can also experiment with different shapes and sizes of brushstrokes to create unique designs. Remember, practice makes perfect.
With a little bit of patience and practice, you’ll be able to create beautiful simple nail designs in no time.
What are the 6 Basic Nail Designs?
There are six basic nail designs that every woman should know. These are the classic French manicure, the American manicure, the natural look, the half-moon manicure, the stiletto nails, and the coffin nails.
The French Manicure: The classic French manicure is a timeless look that is always in style. It is a very clean and polished look that can be worn for any occasion. To achieve this look, you will need to have your nails filed into a square shape and then use a white polish on the tips of your nails. You can also add a clear top coat to protect your nails and give them a shiny finish.
The American Manicure: The American manicure is similar to the French manicure but with a few subtle differences. For this look, you will want to file your nails into an oval shape and then use a light pink polish on the tips of your nails. You can also add a clear top coat to protect your nails and give them a shiny finish.
The Natural Look: The natural look is perfect for those who want their nails to look like they haven’t been done at all. For this look, simply file your nails into whatever shape you prefer and then leave them au naturel – no polish needed
The Half-Moon Manicure: The half-moon manicure is created by painting half of each nail with polish while leaving the other half bare. This look is fun and flirty and can be achieved with any color combination you desire. Simply paint half of each nail with one color of polish and then use another color for the other half – it’s that easy.
The Stiletto Nails: Stiletto nails are long, pointy, and sexy. They are not for everyone but if you’re feeling daring, they are definitely worth trying out. To achieve this look, you will need to have your nails filed into a sharp point and then use either acrylic or gel to lengthen them as much as you desire. Once your desired length has been achieved, simply paint them with whatever color polish you like best.
Coffin Nails: Coffin nails get their name from their shape which resembles that of a coffin – long and rectangular with slightly pointed ends.
How Can I Do Nail Art Myself?
There are a few ways that you can do your own nail art at home. The first way is by using tape to create designs on your nails. You can use washi tape or Scotch tape to create stripes, polka dots, or other geometric shapes.
Another way to do nail art is by using a toothpick or bobby pin to make designs in the polish. This method is best for simple designs like hearts or swirls. If you want to get more creative, you can try using stamps or stencils.
You can find these at most craft stores. Finally, if you have steady hands, you can freehand paint any design you want on your nails.
How Do You Do BTS Nail Art?
BTS nail art has become increasingly popular over the past few years. There are many different ways to do BTS nail art, but some of the most popular include using Korean characters, symbols, and images associated with the group. Other ways to do BTS nail art include painting your nails in the colors of their logo or using glitter and rhinestones to create a more sparkly look.
No matter what method you use, make sure you have plenty of patience and practice before attempting this type of nail art.
Frequently Asked Questions
What are some simple nail art designs that beginners can try?
This is one of the simplest and most classic nail art designs. All you need is a dotting tool or a toothpick to create dots on your nails.Another easy design for beginners, stripes can be created using a thin brush or striping tape. You can make vertical, horizontal, or diagonal stripes depending on your preference. This design involves blending two or more colors to create a gradient effect. It might take some practice but it’s worth trying.
How do I prepare my nails before starting any nail art?
Before starting any nail art design, it’s important to prepare your nails properly to ensure that the final result looks neat and lasts longer. First, clean your nails thoroughly with soap and water to remove any dirt or oil residue that could interfere with polish adhesion. Next, trim and file your nails into the desired shape – square-shaped tips work well for most designs. Then push back cuticles gently using an orange stick; this will give you more space for painting while also making your manicure look neater.
What tools do I need for simple nail art designs?
For simple nail art designs, you don’t need a lot of tools.Nail polishes in various colors.Base and top coat.Dotting tool or toothpick for creating dots and small details.Thin brush or striping tape for making stripes.Sponge for gradient nails.
Stamping kit if you want to try stamping nail art.
How can I make my nail art last longer?
To make your nail art last longer, there are several steps you can take: First, always start with clean nails. Any oil or dirt on your nails can prevent the polish from adhering properly. Second, use a base coat before applying any color. This not only protects your natural nails but also helps the polish stick better. Third, apply thin coats of polish instead of one thick one; this dries faster and lasts longer. Fourth, seal your design with a good quality top coat; this adds shine while also protecting the design from chipping or fading.
Can I do nail art even if my nails are short?
Absolutely! You don’t need long nails to enjoy beautiful nail art designs. In fact, some designs look better on short nails than they do on long ones. For example, geometric patterns like stripes and dots work well on shorter nails as they add an illusion of length. Also French tips with a twist where instead of traditional white tips you use different colors or add glitter is another great option that looks good regardless of length.
Conclusion
Nail art is a creative way to express yourself and can be simple for beginners. All you need are a few supplies and some creativity. To get started, choose a design or pattern that you like. You can find inspiration online or in magazines. Once you have an idea, sketch it out on paper so you have a guide to follow when painting your nails. Next, select the colors you want to use. It’s best to start with two or three colors and then add more if you desire. When painting your nails, use thin coats of polish and let each layer dry completely before adding the next one. This will help prevent smudging and ensure that your design is crisp and clean.