A nail art dotting tool is a small, handheld tool that has a metal ball on one end. The ball can be different sizes, depending on the size of the dots you want to make. Dotting tools are used to create dots and other small designs on your nails.
They’re easy to use and they give you a lot of control over the design. Plus, they’re really affordable.
Nail art dotting tools are one of the most versatile and easy to use nail art tools. They come in a variety of sizes and can be used to create all sorts of designs, from simple dots and lines to more complex patterns. Plus, they’re great for both beginners and experienced nail artists alike.
If you’re new to using dotting tools, start with a smaller size (like a toothpick) and practice making dots of different sizes on a piece of paper. Once you get the hang of it, move on to trying out different designs on your nails. You can use one colors or mix and match several hues to create something truly unique.
Not sure what design to try first? Start with something classic, like polka dots or stripes. Or, if you want something a little more daring, go for an abstract design or even some 3D effects.
The possibilities are endless!
7 EASY NAIL ART DESIGNS THAT ONLY REQUIRE A DOTTING TOOL | Spangley Nails
What are Nail Art Dotting Tools?
Nail art dotting tools are small, usually metal, instruments with a pointed end that is used to create dots and other small designs on the nails. They come in various sizes and can be bought at most beauty supply stores.
How Do You Paint Your Nails With a Dotting Tool?
Assuming you would like a blog post discussing how to use a dotting tool for painting your nails:
Dotting tools are great for creating all sorts of designs on your nails, from simple polka dots to more intricate patterns. Here’s a basic guide on how to use one:
1. Start with clean, dry nails. If you’re using nail polish, apply a base coat first.
2. Choose the color or colors you want to use for your design.
Dotting tools come in different sizes, so pick one that will create dots of the desired size.
3. Dip the tip of the dotting tool into the nail polish. Be sure not to overload it with polish, as this can make it difficult to control and may result in messy dots.
4. Gently touch the dotting tool to your nail where you want the first dot to be placed. Apply gentle pressure as you move the dotting tool across your nail to create the desired shape or pattern. Repeat with additional colors and dots as desired until your design is complete!
What Can You Do With Dotting Tools?
Dotting tools are small, often metal instruments that have a rounded end. They can be used for various purposes such as creating dots or lines on paper or fabric, filling in small spaces, making patterns, and more.
One popular use for dotting tools is in bullet journaling.
Bullet journaling is a system of organization that uses symbols to mark entries in a notebook. The most basic symbol is a dot, which can be used to indicate an event, task, or idea. Dotting tools can be used to create these dots quickly and easily.
Another common use for dotting tools is nail art. Dotting tools can be used to create simple designs on nails by applying polish directly from the tool to the nail. More complex designs can also be created by using multiple colors and mixing them together on the nail with the dotting tool.
There are endless possibilities when it comes to what you can do with dotting tools! Get creative and see what you come up with!
How Does a Dotting Tool Work?
A dotting tool is a small, handheld tool that helps to apply paint or other decorations to small areas. The tip of the dotting tool is usually round and made of metal, plastic, or another smooth material. The handle of the dotting tool may be straight or curved, and it is usually made of wood or another comfortable material.
To use a dotting tool, dip the tip into the paint or other decoration and then lightly touch the surface you are working on. The pressure you apply will determine how big the dots will be. You can experiment with different pressures to create different effects.
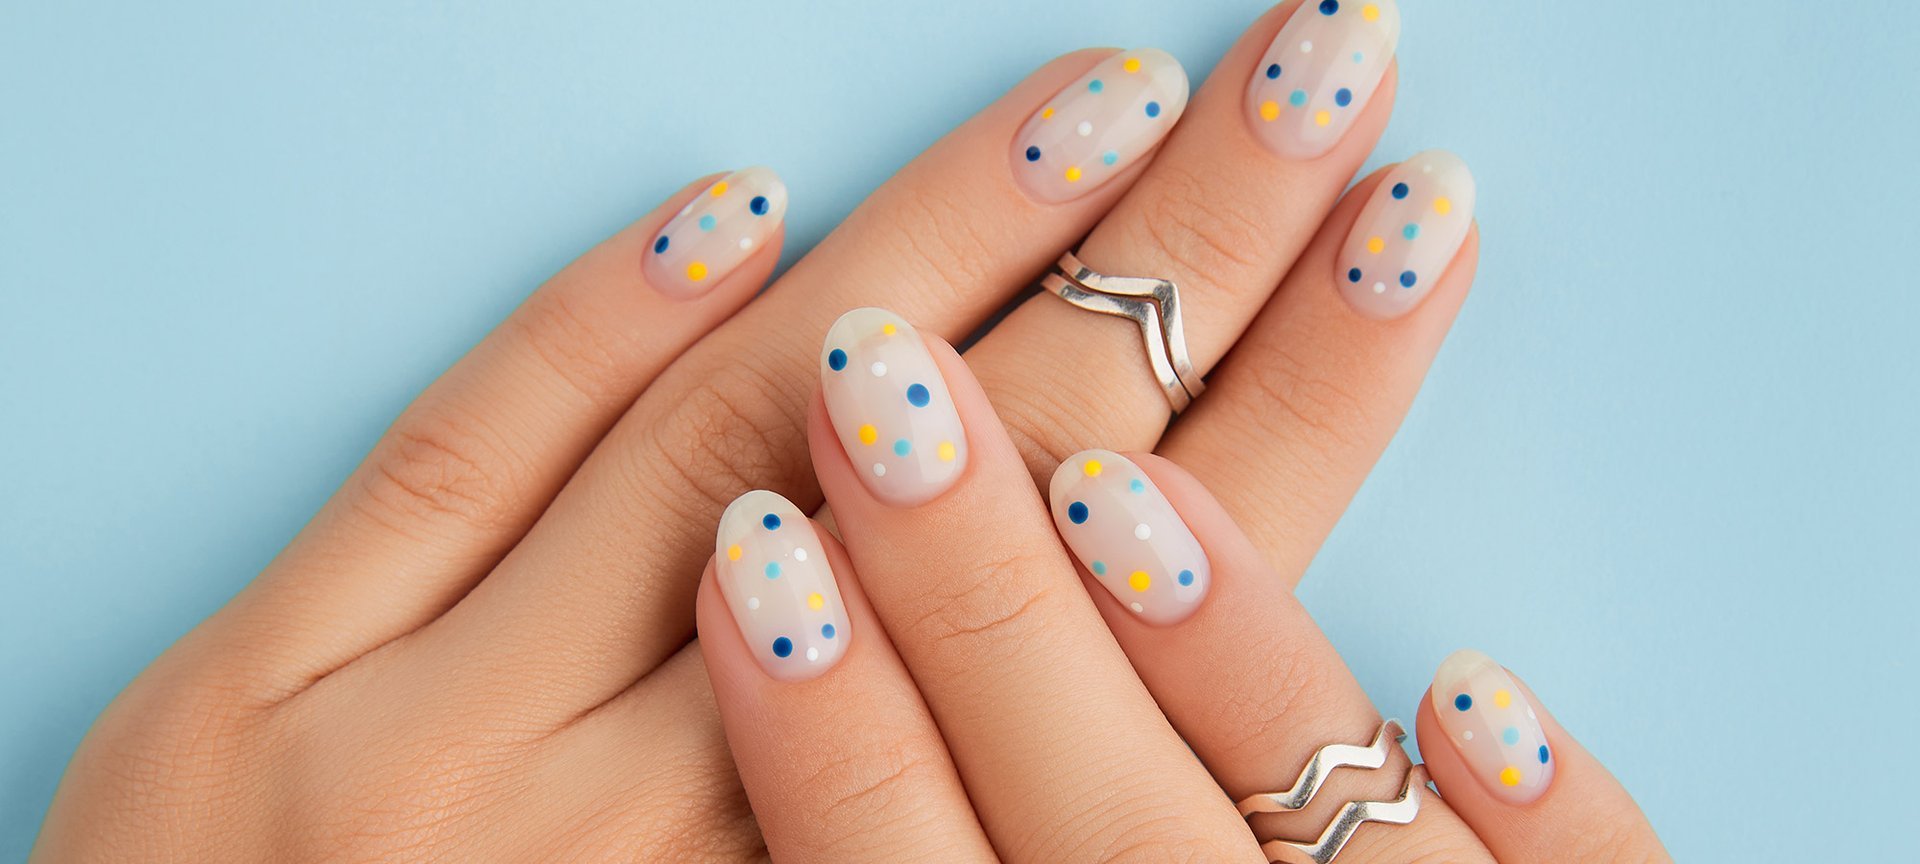
Credit: www.lorealparisusa.com
How to Use Dotting Tools on Nails
Dotting tools are a great way to add detail and interest to your nails. You can use them to create polka dots, flower petals, or other designs. Dotting tools come in a variety of sizes, so you can choose the right tool for the design you want to create.
Here’s how to use dotting tools on nails:
1. Choose the size of dotting tool you want to use. The larger the dotting tool, the larger the dots will be.
2. Place the dotting tool on your nail where you want the first dot to be placed.
3. Press down lightly and twist the tool slightly to create a small indentation in your nail polish.
4. Lift up the dotting tool and move it slightly next to where you made the first indentation.
This will create a second dot that’s connected to the first one. Continue until you’ve created all of the dots you want in your design!
Conclusion
Nail art dotting tools are one of the most versatile and commonly used tools in a nail artist’s arsenal. They come in a variety of sizes and can be used for a multitude of purposes, from creating simple dots and lines to more complex designs. Dotting tools are typically made of metal or plastic and have a pointed end that allows for precise application.
One of the great things about using dotting tools is that they can be used on any type of nails, whether natural or artificial. They are also relatively easy to use and require no special skills or training. Simply dip the tool into your chosen polish or paint color and apply it to the nail surface as desired.
If you’re new to using dotting tools, start with simple designs such as polka dots or stripes. Once you get comfortable with the basics, you can move on to more intricate patterns. There are endless possibilities when it comes to nail art, so let your imagination run wild!