Your manicure is complete and you step back to admire your work. But, within minutes, it seems like your nail art is already fading. If you’re looking for a way to prolong the life of your mani, consider sealing it with a clear top coat.
Start by applying a base coat to your nails. This will help protect your nails from the color polish and make removal easier later on.
Once the base coat is dry, apply your desired color polish in thin coats. Allow each coat to dry completely before moving on to the next. After your final color coat is dry, apply a top coat of clear polish.
Not only will this give your nails extra shine, but it will also help seal in the color and prevent chipping. If you’re like me, you love getting your nails done. But sometimes, it can feel like a waste of money when your polish starts to chip only a few days later. Luckily, there are some things you can do to prolong the life of your nail art and make it last longer.
One way to do this is by sealing your nail art with a topcoat. This will create a barrier between your nails and the environment, which can help prevent chipping and fading. You can also try using a base coat before applying your polish.
This will provide an extra layer of protection and help keep your nails looking fresh for longer. Another tip is to be careful with how you apply your polish. Make sure you don’t put too much pressure on the brush as you apply it to your nails.
And be sure to seal the edges of your nails so that the polish doesn’t have a chance to lift up and chip off. Finally, if you want your nail art to really last, consider getting gel manicures or Shellac treatments at your salon. These options provide a long-lasting finish that won’t fade or chip easily.
3 Tips for growing nails
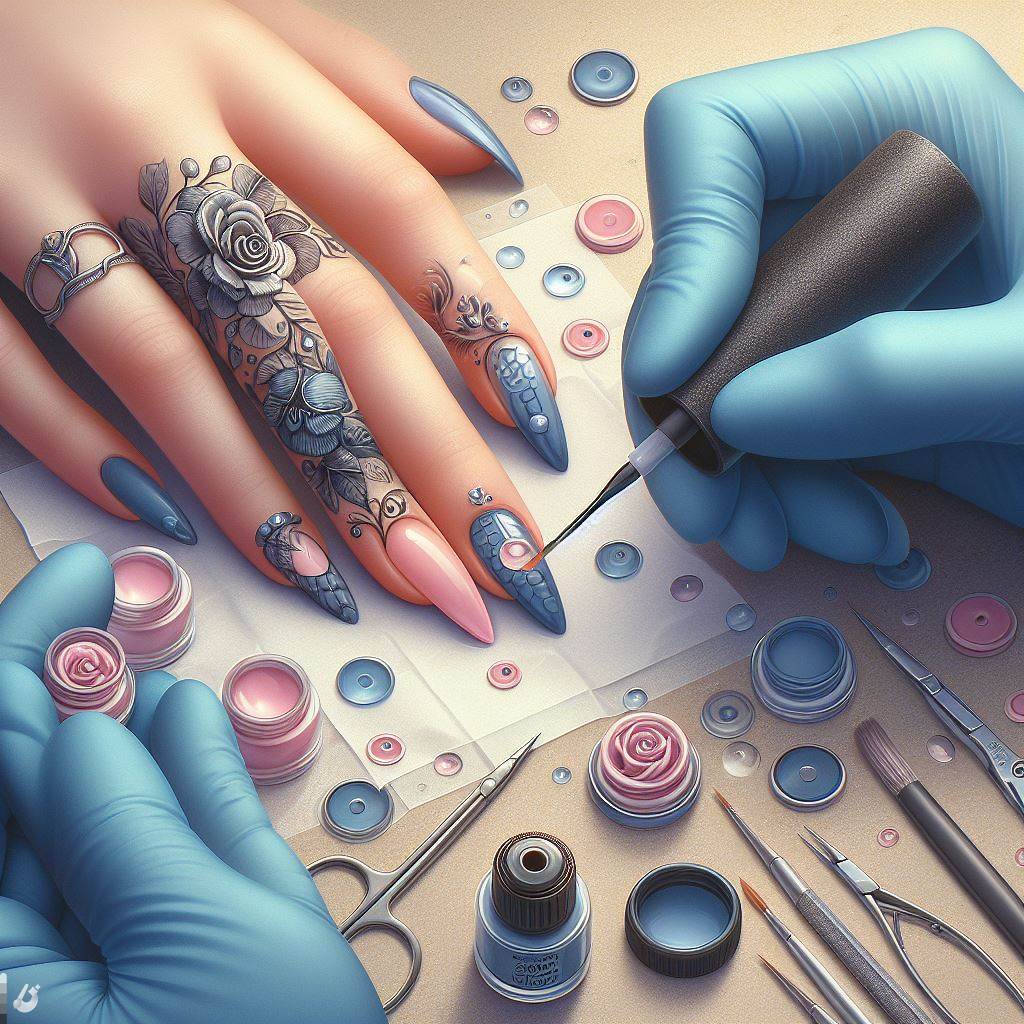
How Do You Seal Nail Art?
Nail art is a creative way to express your personality and style. It can be as simple as a single color or design, or as complex as an entire masterpiece. No matter what your level of expertise, sealing your nail art is an important step in the process.
Here are a few tips on how to do it right. The first step is to choose the right sealant. There are many different types on the market, so it’s important to select one that is compatible with the materials you’re using.
If you’re unsure, ask your local beauty supply store for guidance. Once you have the right product, apply it according to the manufacturer’s instructions. Next, make sure your nails are clean and free of any debris or oils.
This will help the sealant adhere properly and prevent any smudging or smearing. Once your nails are prepped, carefully apply the sealant evenly across each nail surface. Be sure to cover the entire area, including the edges and corners.
Allow the sealant to dry completely before proceeding with your nail art design. Now you’re ready to get creative! After your sealant has dried, it’s time to add whatever colors or designs you desire.
Use a steady hand and take your time – once again, there’s no rush! When you’re finished, simply apply another layer of sealant over top for extra protection. And that’s it – you’ve now successfully sealed your nail art!

Can You Put Clear Nail Polish Over Nail Stickers?
If you’re looking to add a little bit of extra shine and protection to your nail stickers, clear nail polish is a great option. Not only will it help extend the life of your manicure, but it can also give your nails a bit of an extra pop. When applying clear polish over nail stickers, be sure to use a thin layer so as not to cause any bubbling or peeling.
How Can I Extend the Life of My Manicure?
A manicure is a cosmetic beauty treatment for the fingernails and hands. A manicure consists of filing and shaping the free edge, pushing (manicuring) back the cuticles, treatments, massaging the hand, and the application of polish. To extend the life of your manicure there are a few things you can do:
- Be sure to thoroughly clean your nails before starting. This will remove any oils or dirt that could prevent the polish from adhering properly.
- Use a base coat: This will create a smooth surface for the color polish to go on as well as help prolong the wear time.
- Choose quality nail polishes: Some brands are better than others and withstand wear and tear better. These polishes will usually say “long lasting” or “chip resistant” on them.
- Avoid getting your nails wet for at least an hour after applying polish. Water can cause bubbles or streaks in your fresh manicure.
- Apply thin coats of polish rather than thick ones. Thick coats take longer to dry which increases the chances of smudging or denting them while they’re still wet.
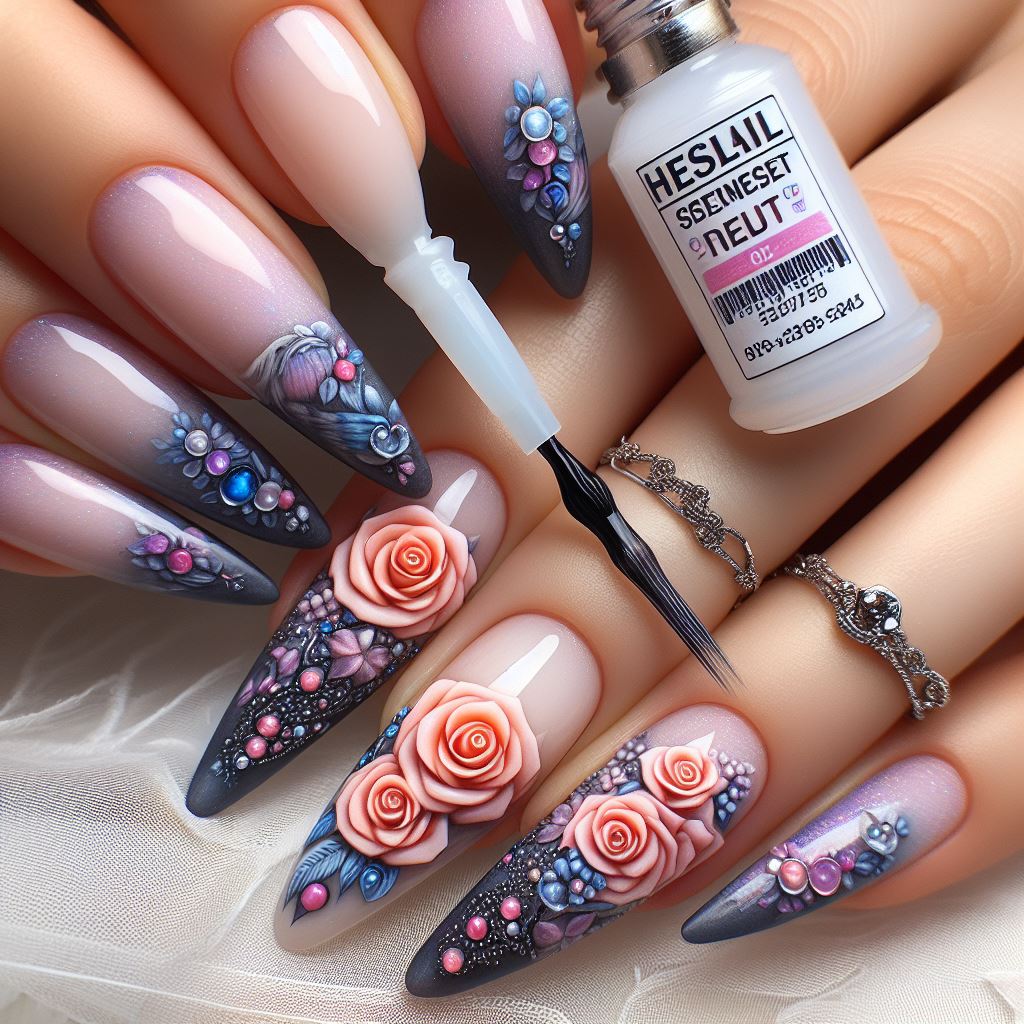
How Many Days Does Nail Art Last?
Nail art can last anywhere from a few days to several weeks, depending on the type of design and how well it is cared for. Simple designs with little detailing can last up to a week, while more intricate designs may only last a few days. To extend the life of your nail art, be sure to avoid activities that will put stress on your nails, such as typing or opening cans.
Also, be careful not to catch your nails on clothing or other surfaces. When you are ready to remove your nail art, gently peel it off or use acetone-free nail polish remover.
How to Keep Nail Polish from Chipping at the Tips?
We all know the feeling: you spend what feels like forever painting your nails perfectly, only to have the polish start chipping away at the tips within hours. It’s so frustrating! But there are a few things you can do to prevent this from happening.
Here are some tips on how to keep your nail polish from chipping:
- Start with clean, dry nails. Any oil or residue on your nails will cause the polish to chip more easily. Make sure to wash your hands thoroughly before starting your manicure.
- Use a base coat. This provides a barrier between your nails and the color polish, helping to prevent chipping.
- Be careful not to over apply the polish. If you put on too thick of a layer, it is more likely to crack and chip off in pieces. Thin coats are best!
- Let each coat of polish dry completely before moving on to the next one. rushing this step will lead to weak, brittle nails that are more prone to chipping.
- Seal in your color with a topcoat. This adds an extra layer of protection and makes your manicure last longer.
Frequently Asked Questions (FAQs)
Can I use a matte top coat to seal my nail art?
Yes, you can use a matte top coat to seal your nail art if you prefer a non-glossy finish. It provides the same level of protection as a glossy top coat, but gives your nails a unique, contemporary look. However, matte top coats tend to show scratches more easily, so regular reapplication may be necessary.
Does using a base coat help to prolong the life of my nail art?
Absolutely, a base coat acts as a primer for your nail polish, providing a smooth surface for better adhesion. This helps prevent chipping and peeling, thus prolonging the life of your nail art. Some base coats also provide additional benefits, such as nail strengthening or color-correcting.
How do I remove the top coat without damaging my nail art?
To remove the top coat without damaging your nail art, use a non-acetone nail polish remover and gently wipe the nail surface. Avoid rubbing or applying too much pressure, which could smear or lift the nail art. If you’re wearing a gel top coat, follow the manufacturer’s instructions for safe removal.
Can I seal my nail art if I’m using regular nail polish?
Yes, you can—and should—seal your nail art regardless of the type of nail polish you’re using. Whether you’re using regular or gel polish, a top coat is key to protecting your nail art and enhancing its durability.
Can I use a fast drying spray or drops along with the top coat?
Yes, fast-drying sprays or drops can be used after applying the top coat to speed up the drying process. However, they should be used sparingly as they can potentially cause the polish to shrink or crack, compromising the longevity of your nail art.
What if my nail art still chips or scratches even after sealing with a top coat?
If your nail art chips or scratches despite sealing with a top coat, consider the following possibilities: the top coat might not be of high quality, the layers of polish could be too thick, or your nails might be exposed to harsh conditions. Try changing your top coat, applying thinner layers of polish, or protecting your hands during strenuous activities.
Conclusion
The longevity of your meticulously crafted nail art can be significantly extended by employing effective sealing techniques. This guide has emphasized the importance of applying a high-quality topcoat as the final step in your nail art process. The protective barrier formed by the topcoat not only enhances the vibrancy of colors but also guards against chips, cracks, and external elements. Regular maintenance, including reapplying the topcoat every few days, acts as a proactive measure to ensure the durability of your nail art. By following these sealing strategies, you empower yourself to enjoy your beautifully adorned nails for an extended period, showcasing your creativity and style with lasting brilliance.