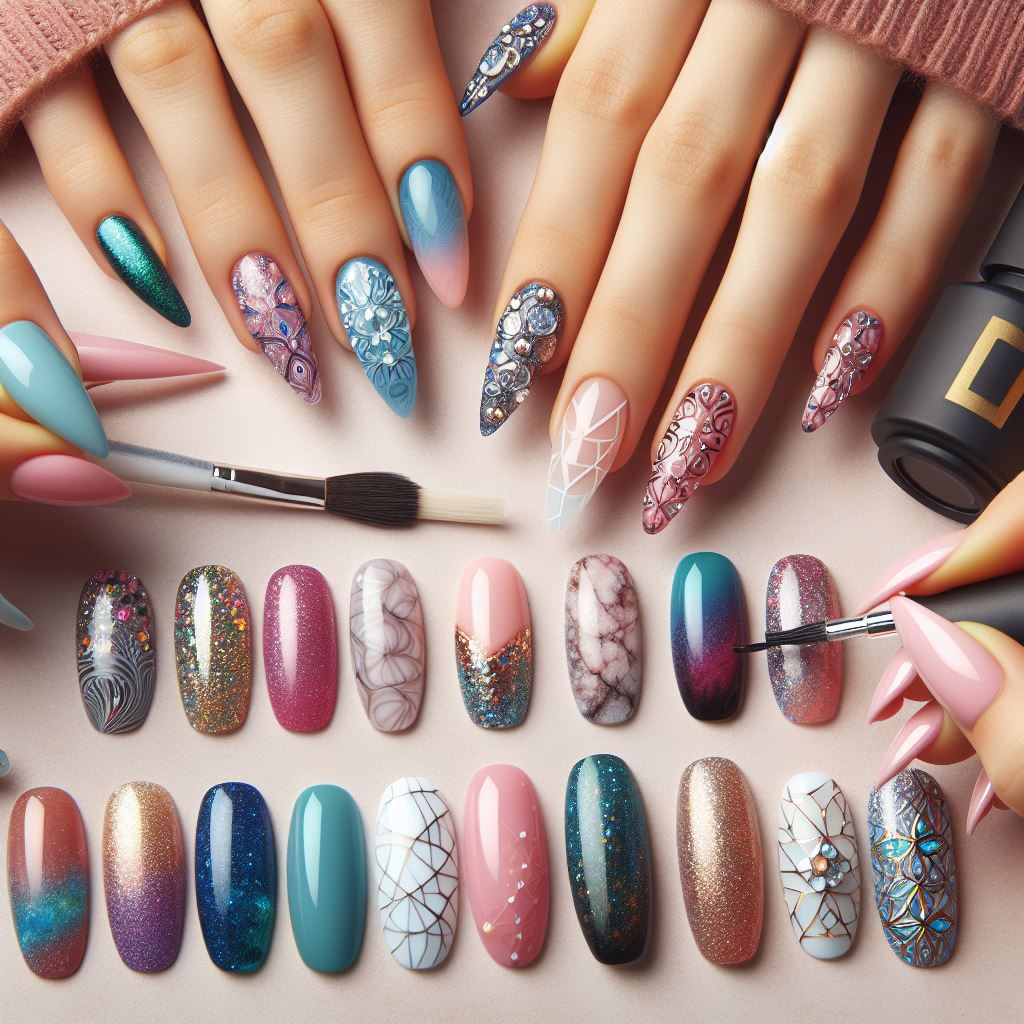
Embarking on the journey of nail art with gel polish opens the door to a world of endless creative possibilities. Gel polish offers durability and a glossy finish that enhances the beauty of your nails. Whether you’re a seasoned nail enthusiast or a beginner, mastering the art of gel polish application allows you to express your style with precision and longevity.
In this guide, we’ll delve into the step-by-step process of creating stunning nail art, exploring various techniques, design ideas, and pro tips to elevate your manicure game. From vibrant geometric patterns to delicate floral designs, let’s unlock the secrets to achieving professional-looking nail art that not only captivates but also lasts. Get ready to unleash your creativity and achieve salon-quality results in the comfort of your own space with the transformative magic of gel polish nail art.
Here are some tips on how to do nail art with gel polish:
1. Choose your colors. Gel polishes come in a wide range of colors, so take some time to pick the shades you want to use for your design. You can mix and match colors or stick to just one or two hues.
2. Decide on a design. There are endless possibilities when it comes to gel nail art designs. You can find inspiration online, in magazines, or even by looking at other people’s nails. Once you’ve decided on a design, sketch it out on paper so you know what you’ll need to do beforehand.
3 . Prep your nails. Before you start painting your nails, make sure they’re clean and free of any oils or debris. This will help the gel polish adhere better and prevent any air bubbles from forming under the polish.
4 . Apply base coat. Apply a thin layer of base coat over each nail, cure (dry) under UV or LED light for 60 seconds, then apply another layer of base coat if necessary. It’s important to make sure the base coat is completely dry before proceeding to the next step, otherwise your design may not turn out as planned. 5 Paint your design. Using either a brush or a dotting tool, carefully paint your design onto each fingernail. If using multiple colors, be sure to Cure (dry) between each color change under UV or LED light for 60 seconds 6 Seal the deal Finally, apply a topcoat over your entire manicure, cure (dry) for 60 seconds once again, then enjoy showing off your fabulous new nails.
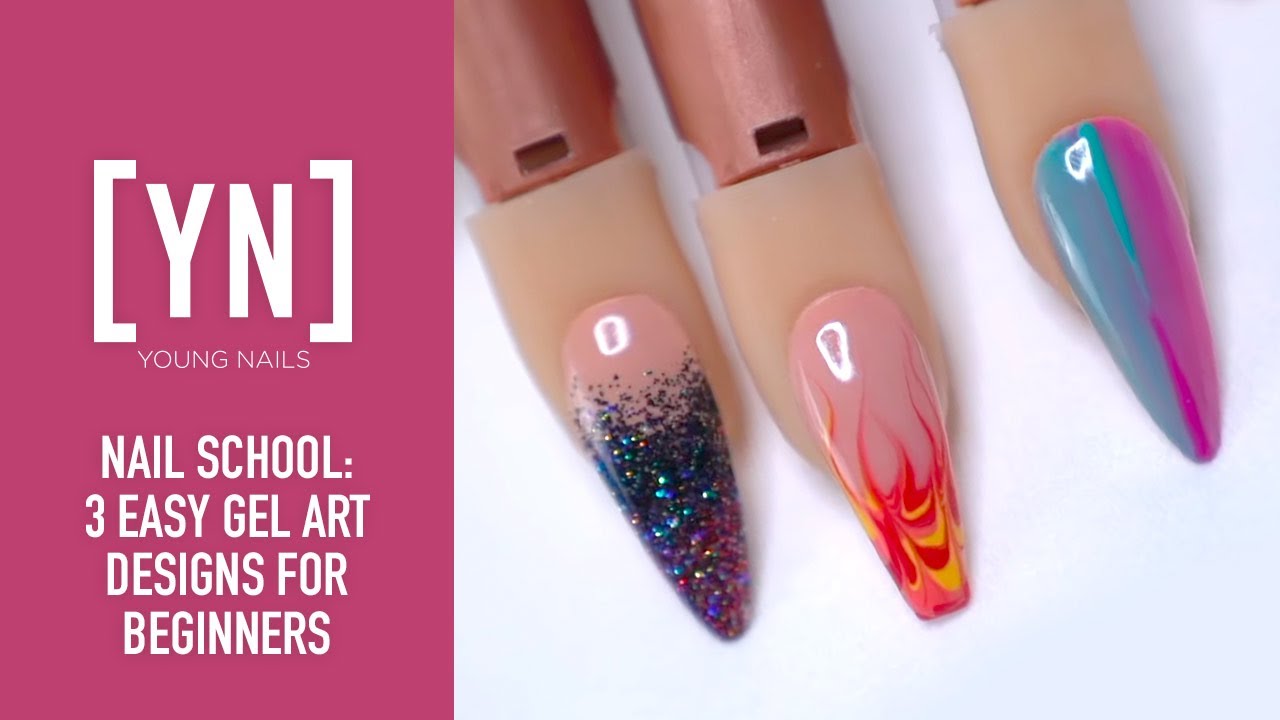
EASY gel polish nail art compilation | testing gel polish kit from Amazon Prime
Can You Get Nail Art With Gel Polish?
If you love nail art but don’t want to sacrifice the longevity of your gel manicure, have no fear! You can absolutely get nail art with gel polish. Here’s everything you need to know.
First, it’s important to start with a clean slate. Be sure to remove any old polish, and prep your nails with a base coat before beginning your design. Once your nails are ready, it’s time to start painting. You can use regular nail polish for your designs, but we recommend using gel polish for the best results. Gel polish is more pigmented than regular nail polish so that it will give your designs bolder and brighter colors. Plus, it cures under UV light, so your designs will last longer without chipping or fading.
To create your designs, you can use a brush or dotting tool dipped in gel polish. You can also purchase pre-made stencils to make things easier. Place the stencil on your nail and paint over it with gel polish.
When you peel off the stencil, voila! Your design is complete. If you’re not feeling confident enough to freehand a design, there are plenty of online tutorials and step-by-step guides that can walk you through the process.
Once you get the hang of it, you’ll be able to create any kind of design imaginable – from simple stripes to complex geometric patterns. Just have fun and experiment until you find what works best for you!
How Do You Do Gel Nail Art at Home?
If you want to do gel nail art at home, you will need to invest in a quality UV or LED nail lamp, gel polish, and some other tools. The first step is to prep your nails by removing any old polish, cleaning them with soap and water, and pushing back your cuticles. Then, apply a base coat of gel polish and cure it under the lamp for the recommended amount of time.
Next, apply your desired color(s) of gel polish and cure again. Finally, apply a top coat of gel polish and cure one last time. Once everything is dry, you can use a dotting tool or striping brush to create designs on your nails.
How Do You Make Gel Nail Patterns?
Gel nail patterns are a great way to add some flair to your nails. They are also relatively easy to do. Here is a step-by-step guide on how to create gel nail patterns:
1) Begin by applying a base coat of gel polish to your nails. This will help the colors adhere better and prevent staining. 2) Next, apply a thin layer of the lightest color gel polish you will be using for the design.
Cure this under a UV or LED lamp for 60 seconds. 3) Now, it’s time to start creating the design! For this example, we will be doing a leopard print pattern.
Start by applying small dots of the darkest color gel polish randomly across the nail. Then, using a dotting tool or toothpick, drag the dots outwards to create leopard print spots. Cure for 60 seconds once again under a UV or LED lamp.
4) Repeat step 3 with the remaining colors until you are happy with the design.
Is Gel Or Dip Better for Nail Art?
There are a few things to consider when deciding if gel or dip is better for your nail art. First, think about the design you want. If you want something very intricate or 3D, the gel is probably your best bet.
It will give you a smooth canvas to work with, and the designs won’t be as likely to chip or smudge. Dip powder is also a good option for complex designs, but it can be more difficult to control than gel. Another thing to consider is how long you want your nail art to last.
Gel manicures can last up to two weeks without chipping, while dip powder typically lasts one week. So if you need your nails to look perfect for a longer period, gel is the way to go. However, dip powder is generally less expensive than gel, so it’s worth considering if you’re on a budget.
Finally, think about the health of your nails. Gel manicures require that your nails be exposed to UV light in order to cure properly, which can cause damage over time. Dip powder doesn’t require any curing process, so it’s generally considered healthier for your nails in the long run.
So which is better – gel or dip? It really depends on what you’re looking for in terms of design, longevity, and health. But either way, you can create some amazing nail art.
Credit: www.youtube.com
Gel Nail Art for Beginners
Gel nail art is a creative way to decorate your nails using gel polish. Gel polish is a type of nail lacquer that is cured under UV or LED light, which makes it last longer than regular nail polish. You can create all sorts of designs with gel polish, from simple stripes and dots to more complex flowers and geometric patterns.
If you’re new to gel nail art, don’t worry. There are plenty of easy designs that even beginners can do. In this blog post, we’ll show you some simple yet stunning gel nail art ideas that anyone can recreate at home.
One of the simplest ways to add some flair to your nails is by painting each one in a different color. You can use as many or as few colors as you like and mix and match them however you want. For an extra touch, try adding some glittery accent nails or doing an ombre design with two or three colors.
Another easy way to decorate your nails is with stripes. You can use tape or a striper brush to create clean lines or freehand it for a more rustic look. Try mixing up the widths of the stripes or alternate between matte and glossy finishes for added interest.
If you want something really eye-catching, try painting one stripe down the middle of each nail instead of across the whole nail bed. Dots are another great way to add some pizzazz to your mani/pedi. You can use a dotting tool or a toothpick dipped in polish to create perfect circles or go for an imperfect look by free-handing it.
Once you’ve made your dots, you can get creative by turning them into flowers or other shapes using a thin brush dipped in contrasting colors. Or keep it simple by alternating between two colors on each finger/toe.
Frequently Asked Questions (FAQs)
Can I apply gel polish on natural nails at home?
Yes, you can apply gel polish on natural nails at home. Ensure proper nail preparation, use a base coat, apply thin layers of gel polish, and cure each layer under a UV or LED lamp for the best results.
How long does gel polish typically last?
Gel polish can last up to two weeks or more with proper application and care. Avoiding activities that can chip or damage the nails and following recommended removal procedures contribute to their longevity.
Can I create nail art with gel polish without professional training?
Absolutely. Many nail art designs with gel polish are beginner-friendly. Start with simple techniques like layering colors, using tape for geometric patterns, or applying decals. Practice and experimentation will enhance your skills over time.
How do I remove gel polish without damaging my natural nails?
To remove gel polish safely, soak cotton pads in acetone, place them on the nails, and wrap each fingertip with aluminum foil. After 10-15 minutes, gently push off the softened gel with an orange stick. Moisturize your nails afterward to prevent dryness.
Can I mix different gel polish brands for nail art?
While it’s generally recommended to use products from the same brand for consistency, some nail artists mix different gel polish brands successfully. Ensure compatibility by testing in small areas first, and be aware that results may vary based on formulations.
Conclusion
Mastering nail art with gel polish is a gratifying journey that empowers individuals to showcase their creativity through beautifully adorned nails. This guide aimed to demystify the process, offering insights into techniques, design ideas, and expert tips for a successful gel polish manicure. As you hone your skills, remember that practice is key, and experimentation is encouraged. Gel polish provides a versatile canvas for expressing your unique style, and the enduring finish ensures your artistry lasts. Whether you opt for intricate patterns, vibrant colors, or subtle accents, let your imagination run wild. With the knowledge gained from this guide, you’re well-equipped to embark on a nail art adventure, turning your fingertips into miniature masterpieces that reflect your personality and flair. Enjoy the artistic journey of transforming your nails into captivating works of self-expression with the brilliance of gel polish.