Embarking on the journey of nail art is an exciting venture, and the HNM Nail Art Set serves as a comprehensive toolkit to unlock your creative potential. Whether you’re a seasoned nail enthusiast or a budding artist, this set offers a myriad of possibilities to transform your nails into stunning works of art. The HNM Nail Art Set comes equipped with an array of tools, from brushes to dotting tools, stamping plates, and rhinestones, providing endless opportunities for imaginative designs. With user-friendly features tailored for both beginners and experienced users, this set invites you to explore and experiment with various techniques. In this guide, we will delve into the art of using the HNM Nail Art Set, providing step-by-step instructions, tips, and inspiration to elevate your nail artistry to new heights. Get ready to unleash your creativity and adorn your nails with captivating designs using the versatile and exciting tools within the HNM Nail Art Set.
- Before using the Hnm Nail Art Set, it is important to read all instructions and warnings that are included with the set.
- Choose the appropriate size of tool for the design you wish to create
- Place the Hnm Nail Art Set on a clean, flat surface
- Please select the desired color of nail polish from the set and apply it to your nails according to the instructions included in the set.
- Use the tools in the Hnm Nail Art Set to create your desired design on your nails.
- Be sure to follow all instructions carefully so as not to damage your nails.
- Allow your nails to dry completely before applying a top coat of clear nail polish if desired.
HNM UV GEL NAIL KIT FAIL! 💅🏼| IT WAS GOING SO WELL 😩
How Do You Apply Nail Art Accessories?
Nail art accessories can be used to add a variety of different effects and designs to your nails. Glitter, rhinestones, stickers, and even fabric flowers are all popular nail art accessories that can be easily applied at home with just a little bit of practice. Here are some tips on how to apply each type of accessory:
Glitter: Glitter can be applied using a variety of methods, but the easiest way is to brush it onto your nails with a makeup brush or cotton swab. You can also dip your nails into a container of glitter for a more intense effect. Just make sure to tap off any excess before it dries so you don’t end up with glitter all over your fingers!
Rhinestones: Rhinestones come in many different sizes and shapes, so you’ll need to select the ones that best fit your design. Once you have your rhinestones, use tweezers to place them onto your wet nail polish. You can also use clear nail glue if you want them to stay put for an extended period.
Stickers: Stickers are another easy way to add some pizzazz to your nails. There are endless possibilities when it comes to sticker designs, so take some time browsing through what’s available until you find something you like. When applying stickers, first dampen them slightly with water, then place them on your nails while they’re still wet.
Use a top coat of clear polish over the stickers once they’re in place to help them last longer. Fabric Flowers: Fabric flowers make beautiful accents for springtime manicures. To apply them, cut out the flower shape from the fabric, then glue it onto your nail using clear nail glue or fabric adhesive tape.
How Do You Use Nail Art Products?
When it comes to nail art, there are endless possibilities of what you can do. Whether you want something simple or elaborate, some products can help you achieve the look you desire. Here is a guide on how to use some common nail art products.
Nail polish is obviously a key product for any nail art. You can use it to create simple designs or build up more complex ones. To create a basic design, start by painting your nails with a solid color as your base.
Once that is dry, use a different color polish to create dots, stripes, or any other desired pattern. You can also use a toothpick or bobby pin to make smaller details. If you want something more intricate, consider using stamping plates and special polishes made for this purpose.
There are also various tools, such as dotting tools and brushes, that can be used to create specific designs. Another popular product used in nail art is glitter. Glitter comes in many colors and sizes and can really add some sparkle to your nails.
It can be applied directly to the nails or added to clear polish before being painted on. Glitter should be applied over a layer of top coat so it will stay in place better and last longer. Rhinestones are another great way to decorate your nails.
They come in many different colors and sizes and can be applied with tweezers or placed into wet polish and then pressed onto the nails. Rhinestones can also be bought already glued onto strips which makes applying them much easier. There are endless possibilities when it comes to using these products for nail art, so experiment until you find what works best for you!
How Do You Apply Nail Polish Sets?
When it comes to applying a nail polish set, there are a few things you need to keep in mind. First, make sure your nails are clean and free of any oils or dirt. This will help the polish adhere better to your nails.
Next, please choose the color you want to use for your base coat and apply it evenly to your nails. Once the base coat is dry, apply your first coat of polish. Again, make sure to apply this evenly so that you don’t end up with any streaks.
Allow the first coat of polish to dry completely before applying a second coat. Finally, finish off with a top coat to help protect your manicure and make it last longer.
How Do You Apply Nail Art Gems?
Nail art gems can be applied in a variety of ways, depending on their size and shape. Smaller gems can be applied with tweezers, while larger ones may need to be placed on the nail with a dotting tool or toothpick. Once the gem is in place, it can be secured by top coats or clear glue.
Credit: www.aliexpress.com
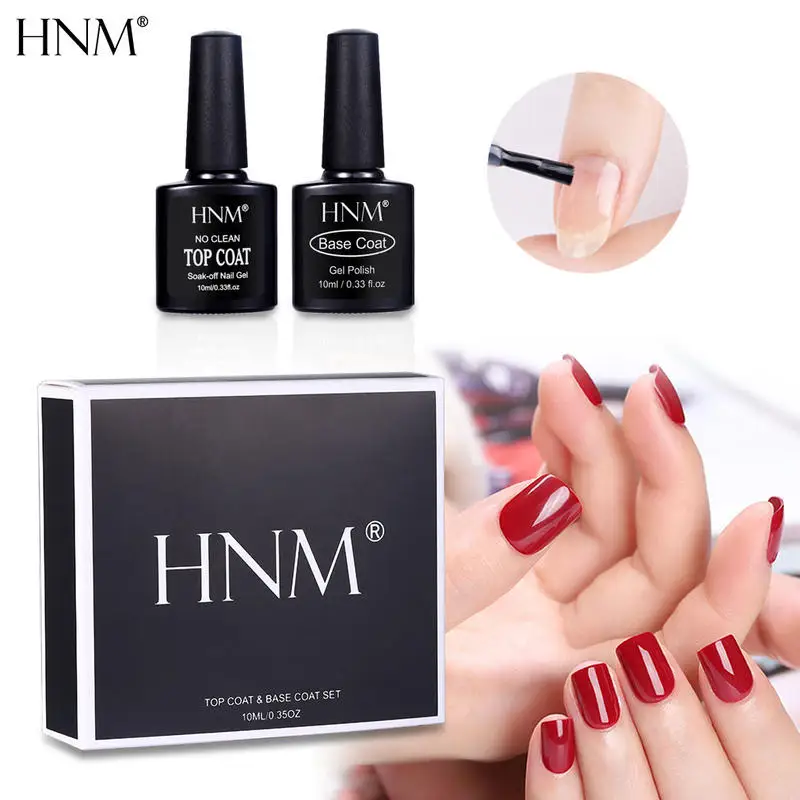
Base Coat Soak off How to Use
If you are looking to get a gel manicure but don’t want to deal with the hassle of traditional nail polish, then a base coat soak-off may be the answer for you. This type of manicure is applied just like regular nail polish, except that it uses UV light to cure the polish. Once cured, the base coat can be peeled off easily without any damage to your nails.
To use a base coat soak off, start by applying a thin layer of the polish to your nails. Be sure to avoid getting any on your skin, as this can irritate. Next, place your hand under a UV light for about 2 minutes or until the polish is completely dry.
Finally, peel off the base coat starting from the edges of your nails. Base coat soak-offs are an easy and convenient way to get salon-quality gel nails at home. With just a few simple steps, you can achieve professional-looking results that will last for weeks.
Tips for Beginners
Practice Recommendations:
For beginners diving into the world of nail art with the HNM Nail Art Set, consistent practice is key to building confidence and refining skills. Begin by experimenting with basic brush strokes, dotting tool techniques, and stamping plate applications on a practice surface or artificial nails. This allows you to familiarize yourself with the tools, understand pressure control, and refine your hand movements.
Consider dedicating specific practice sessions to focus on individual tools and techniques. Start with simple designs and gradually progress to more complex patterns as you become comfortable. Remember, nail art is an art form, and improvement comes with patience and dedication. Over time, you’ll develop a steady hand and the ability to create intricate designs effortlessly.
Troubleshooting Common Issues:
As a beginner, encountering challenges is part of the learning process. Here are solutions to common nail art issues:
- Smudging: Allow each layer to fully dry or cure before applying the next. Quick-dry topcoats can also help prevent smudging.
- Uneven Designs: Ensure an even base coat and practice maintaining consistent pressure while applying designs.
- Stamping Imperfections: Clean the stamping plate thoroughly between uses, use enough polish, and work quickly to transfer the design accurately.
- Brush Stray Marks: Keep a small brush or cotton swab dipped in nail polish remover for precision cleanup.
- Dotting Tool Inconsistencies: Experiment with different dot sizes by adjusting pressure and practicing on a spare surface.
Experimenting with Confidence:
Building confidence in nail art involves embracing experimentation and allowing room for creativity. Start with smaller projects and gradually progress to more elaborate designs. Use the HNM Nail Art Set as a versatile toolbox for trying various techniques, colors, and patterns.
Consider themed nail art sessions based on seasons, holidays, or personal interests to keep the experience enjoyable. Don’t be afraid to combine different tools or techniques to create unique designs. Remember that mistakes can lead to unexpected and innovative results, so view them as opportunities for creative exploration.
Seek inspiration from online tutorials, nail art communities, and social media platforms. Engage with fellow nail art enthusiasts to share experiences, tips, and ideas. With each new design, your confidence will grow, allowing you to push artistic boundaries and develop a signature style.
Embracing nail art as a beginner with the HNM Nail Art Set involves dedicated practice, troubleshooting challenges, and experimenting fearlessly. Enjoy the learning process, celebrate your progress, and let your creativity flourish as you embark on a colorful and artistic nail journey.

Frequently Asked Questions (FAQs)
What does the HNM Nail Art Set include?
The HNM Nail Art Set typically includes various nail art tools such as brushes, dotting tools, stamping plates, and rhinestones. The specific contents may vary, so refer to the product description or manual for details.
Can beginners use the HNM Nail Art Set?
Yes, the HNM Nail Art Set is designed to be user-friendly, making it suitable for beginners. The included tools often come with easy-to-follow instructions, allowing individuals of all skill levels to create beautiful nail art.
How do I clean the tools from the HNM Nail Art Set?
Clean the tools with gentle nail polish remover or a specialized brush cleaner. Ensure thorough cleaning after each use to maintain the longevity and effectiveness of the tools.
Are the nail art products in the HNM set safe for natural nails?
HNM products are generally safe for natural nails when used according to instructions. However, it’s advisable to perform a patch test before full application to ensure compatibility, especially if you have sensitive skin or allergies.
Can I use the HNM Nail Art Set with other nail polish brands?
Yes, the tools in the HNM Nail Art Set can typically be used with various nail polish brands. However, for optimal results, it’s recommended to use them with HNM nail products or those with similar formulations for compatibility.
Conclusion
Mastering the use of the HNM Nail Art Set opens a world of artistic possibilities for nail enthusiasts. This comprehensive toolkit, designed for both beginners and experienced users, empowers individuals to create captivating nail art with ease. From intricate designs using various brushes and stamping plates to adding a touch of sparkle with included rhinestones, the HNM Nail Art Set offers endless opportunities for creative expression. As you embark on this journey, remember that practice is key, and experimentation is encouraged. Embrace the versatility of the tools, follow the provided instructions, and let your imagination run wild. With the HNM Nail Art Set in hand, you have the means to transform your nails into personalized masterpieces, making every manicure a unique and delightful experience. Enjoy the artistic journey and the vibrant world of possibilities that the HNM Nail Art Set brings to your fingertips.