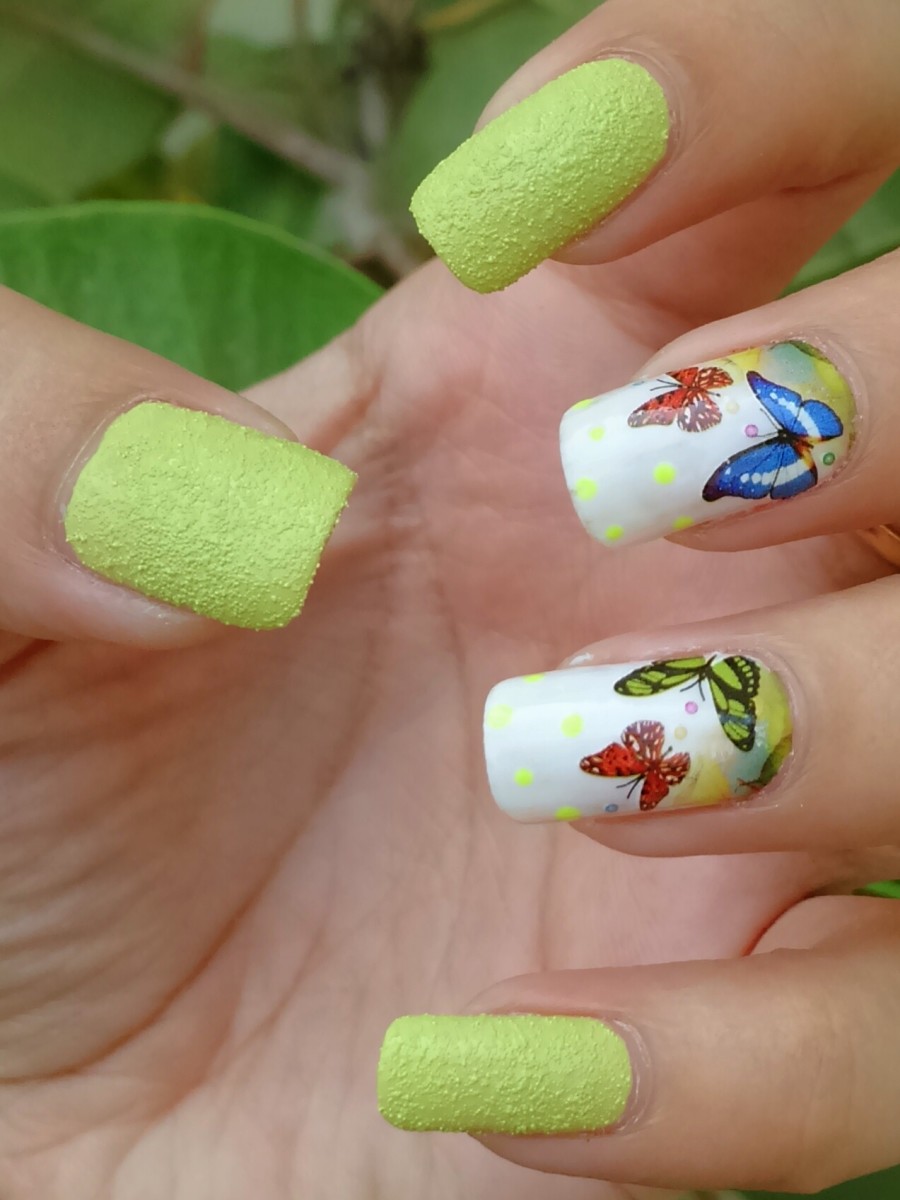
Nail art transfers are a quick and easy way to add some pizzazz to your nails. They come in a variety of designs, so you can find one that suits your style. Applying them is simple: just soak the transfer in water for a few seconds, then apply it to your nail.
If you’re not happy with the results, you can always start over.
- Purchase your desired nail art transfers
- You can find these online or at some beauty stores
- Choose a color of polish that will contrast well with the design of the transfer
- For example, if the transfer is white, choose a dark color polish
- Paint your nails with the chosen polish and let it dry completely
- Cut out the desired design from the sheet of transfers
- Make sure to cut closely around the edges of the design
- 5
- Place the transfer onto your nail and press down firmly ensuring that there are no air bubbles trapped underneath
- If needed, use a tweezer to help place smaller pieces onto your nails 6 Allow time for the transfer to set before adding any additional top coats or colors
Credit: bellatory.com
How Do You Apply Gel Nail Transfers?
Gel nail transfers are one of the most popular methods for getting salon-looking nails at home. They are quick and easy to apply, and last for up to two weeks with proper care. Here is a step-by-step guide on how to apply gel nail transfers:
1. Start with clean, dry nails. If your nails have any oils or residue on them, the gel transfer will not adhere properly. You can clean your nails with rubbing alcohol or acetone nail polish remover.
2. Cut the gel transfer to fit your nail size. Place the transfer on your nail and gently press down to secure it in place.
3. Use a UV or LED lamp to cure the gel transfer according to the manufacturer’s instructions.
Curing helps set the adhesive so that the transfer will not come off easily.
4. Trim and file the edges of the gel transfer if necessary. You want your nails to look neat and polished, so take care of any rough edges around the sides or top of your nails.
How Do You Get Nail Decals to Stay On?
There are a few ways to get nail decals to stay on. One way is to use a top coat of clear polish. This will help to seal in the decal and keep it from peeling up.
Another way is to use a base coat of white polish before applying the decal. This will create a barrier between your natural nail and the decal, helping it to stay in place longer. Finally, you can try using a bit of clear glue on the back of the decal before applying it to your nail.
This will ensure that it sticks well and doesn’t come off easily.
How Do You Apply Full Nail Water Decals?
Water decals are one of the easiest ways to add intricate designs to your nails. They come in a wide variety of colors and patterns, and can be applied quickly and easily with just a few simple steps.
To apply water decals, start by trimming them to fit your nail bed.
Next, soak the decal in water for 10-15 seconds until it is soft and pliable. Carefully slide the decal off of the backing paper and position it on your nail. Once you are happy with the placement, use a cotton ball or Q-tip to press down on the edges of the decal, securing it in place.
Finally, top with a clear coat of polish for extra protection.
How Do You Apply Nail Art Stickers?
If you’ve ever seen someone with intricate and beautiful nail art and wondered how they did it, you’re not alone. Nail art stickers are a popular way to achieve salon-quality nails at home, and they’re actually much easier to use than you might think. In this blog post, we’ll show you how to apply nail art stickers like a pro!
The first step is to choose your favorite design from our wide selection of nail art stickers. Once you’ve made your selection, it’s time to prep your nails. Start by washing your hands and removing any polish or debris from your nails.
Next, use a file or emery board to shape your nails into the desired shape. Once your nails are prepped and ready to go, it’s time to apply the sticker!
To apply the sticker, start by peeling off the backing paper.
Be careful not to touch the adhesive side of the sticker as this can cause it to lose its stickiness. Place the sticker on your nail bed where you want it placed, then gently press down on all sides to secure in place. If there are any air bubbles under the sticker, use a toothpick or other sharp object to puncture them and release the trapped air.
Once all of your stickers are applied, seal them in with a top coat of clear polish for extra durability. And that’s it! You’ve now successfully applied your own salon-quality nail art right at home!
How to apply designer nail art foil transfer / achieve a perfect nail foil transfer application
How to Apply Nail Art Decorations
Nail art is a creative way to decorate your nails. It can be simple, like painting your nails with a solid color, or more complex, like adding designs or embellishments. You can find nail art kits at most beauty supply stores, or you can create your own designs using a variety of tools and materials.
Before you begin, it’s important to have the right supplies on hand. You’ll need nail polish in the colors of your choice, as well as top coat and base coat. You’ll also need some sort of design template – this can be anything from stickers to stencils to stamps.
If you’re doing freehand designs, you may want to invest in some dotting tools or thin brushes. And finally, you’ll need a place to work – a table covered in newspaper or wax paper will do the trick.
Now that you have everything you need, let’s get started!
Begin by applying a base coat to your nails and letting it dry completely. This will help your design stick better and last longer. Next, apply your first color of polish.
If you’re using stickers or stencils, now is the time to apply them. Once your design is in place, paint over it with a top coat to seal it in place. Let everything dry completely before moving on to the next step.
If you want an extra bit of durability (or if you just want your manicure to look extra professional), consider applying a layer of clear gel polish over top of everything else. You’ll need to cure this under UV light for it to set properly – consult the instructions that came with your gel polish for more information about curing times and power settings.
And that’s all there is to it!
Conclusion
If you’re looking for a quick and easy way to add some pizzazz to your nails, nail art transfers are the way to go! They come in a variety of designs, so you can find one that fits your mood or style. Here’s how to apply them:
1. Start with clean, dry nails. If your nails are oily, wipe them with a cotton ball soaked in nail polish remover before proceeding.
2. Cut out the design you want to use from the sheet of transfers.
If it’s too big, you can trim it down with scissors.
3. Place the transfer on your nail and press down gently. You can use a tweezer or your fingers for this step.
4. Use a top coat of clear polish to seal in the design and voila! You’ve got instant nail art!