Nail art is a creative way to decorate your nails. It can be simple or elaborate, and there are many different techniques that you can use. One popular technique is stamping.
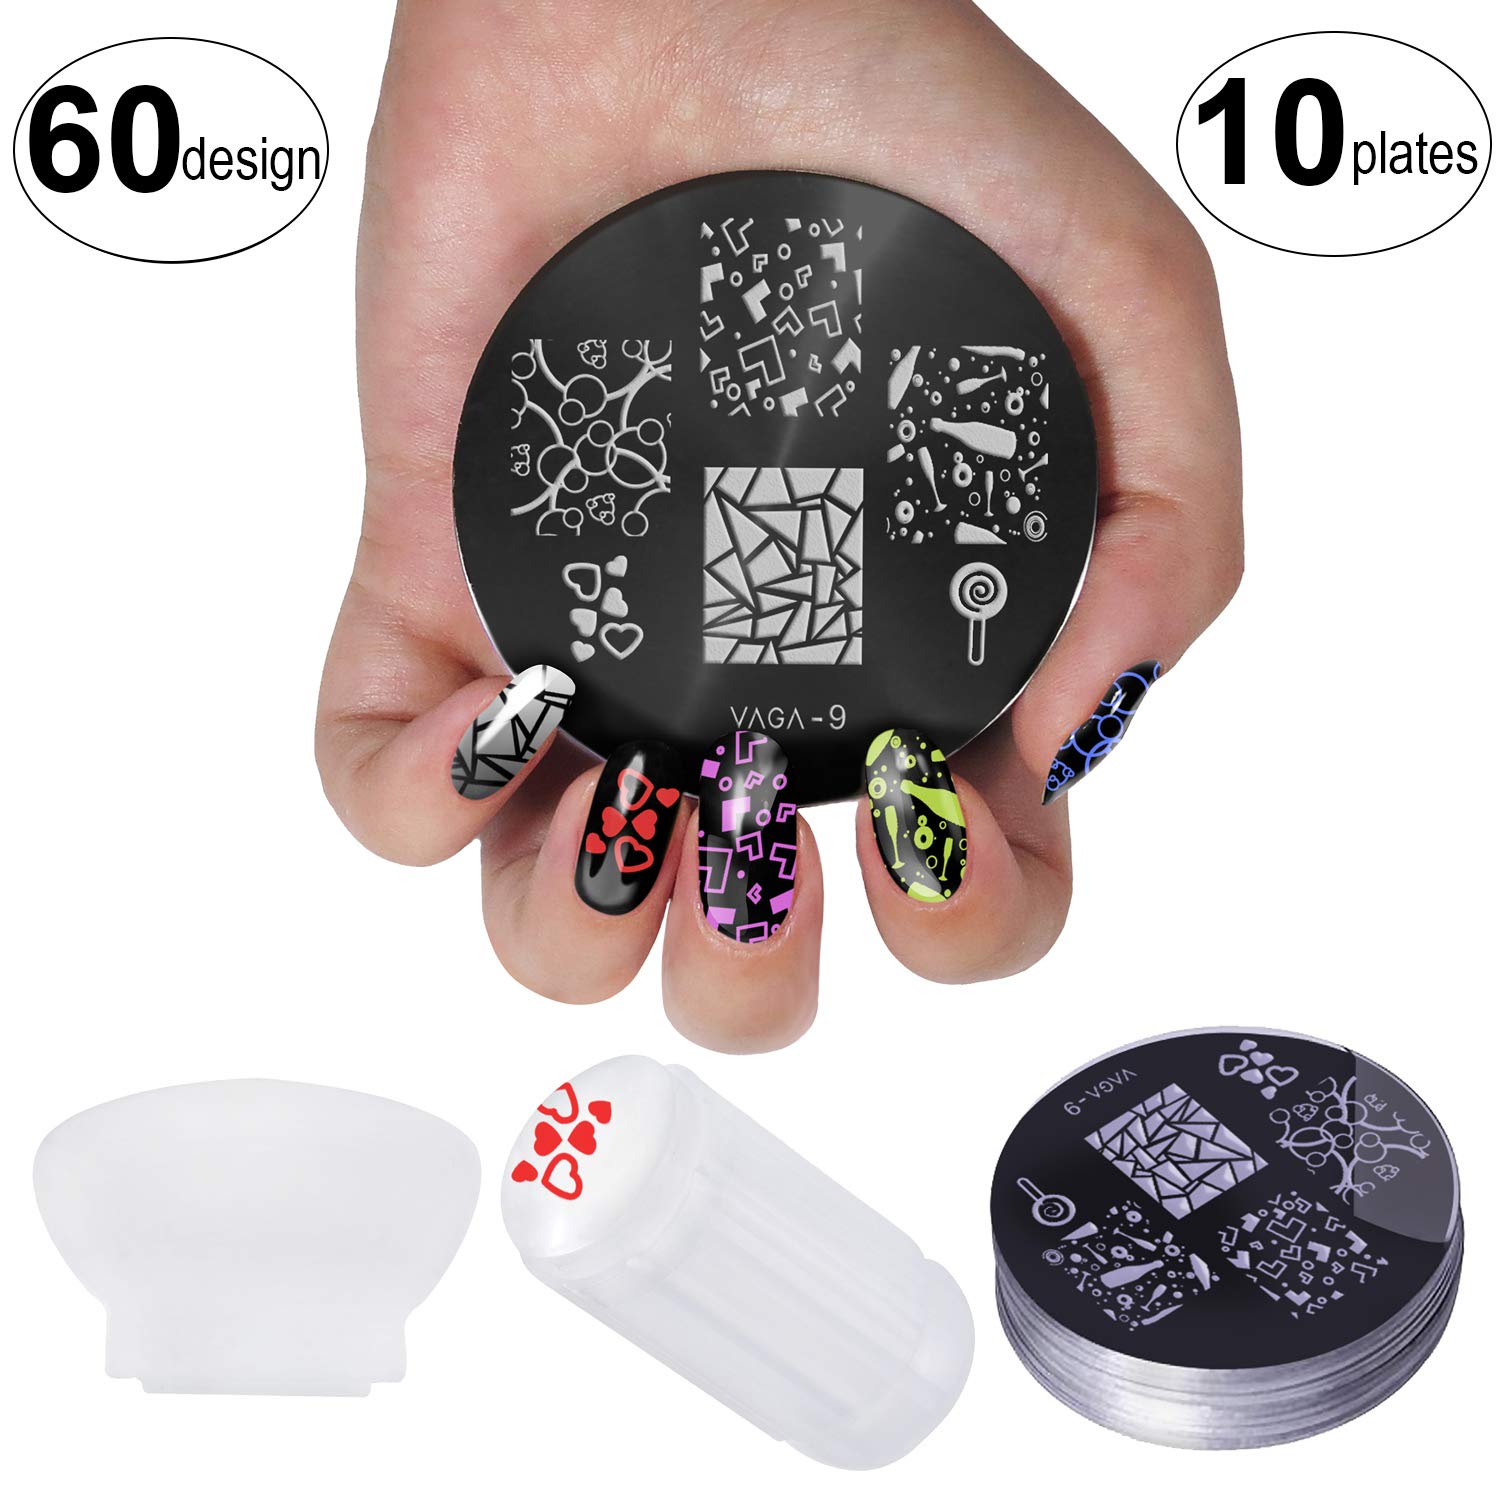
Stamping is a relatively easy way to create complex designs on your nails without having to freehand them. You will need a few supplies for this technique, including a nail art stamper, stamping plate, and special polish. The stamper picks up the design from the stamping plate and transfers it onto your nail.
You can use any color combination you like for this technique, and there are endless possibilities for designs.
Nail art stampers are a great way to add some pizzazz to your nails. They come in various sizes and designs, so you can find one that fits your style. Using a stamper is simple: just apply your favorite nail polish to the design, then press it onto your nail.
Voila! You’ve got instant nail art. Stamper kits usually come with a few different designs, so you can mix and match for even more fun.
5 Different Ways To Use A Nail Stamper!
How Do You Use a Nail Art Stamper?
A nail art stamper is a tool used to transfer designs onto the nails. The stamper itself is a round, cylindrical tool with a flat, slightly concave end. This end is covered in a material that can absorb and hold nail polish.
To use the stamper, first select the design you want to use. Next, apply some of the polish to the design on the stamper using a dotting tool or brush. Be sure to use enough polish so that the entire design is covered.
Once the design is completely coated, press the stamper onto your nail and hold it there for a few seconds. Gently remove the stamper and check to see if the design has transferred onto your nail. If not, add more polish and try again.
Can You Use Regular Nail Polish With a Nail Stamper?
If you’ve ever tried to use regular nail polish with a stamping plate, you know it doesn’t work. The polish is too thick and won’t transfer onto the stamper. You need to use a special kind of nail polish for stamping, which is thinner and has a slightly different consistency from regular polish.
This type of polish is specifically made for stamping and works best with metal plates.
Do You Need Special Polish for a Nail Stamper?
When it comes to stamping your nails, the type of polish you use is important. You want to make sure that you use a polish that is opaque and has a good consistency. Many people like to use special stamping polishes because they are specifically formulated to work well with stampers.
If you don’t have any special stamping polish, you can probably get away with using a regular nail polish as long as it meets the above criteria.
Can You Use Gel Nail Polish on a Nail Stamper?
Gel nail polish can be used on a nail stamper, but it requires some special techniques. First, you need to make sure that your gel polish is properly cured. If it’s not, it won’t adhere to the stamp and will just end up smearing.
To cure gel polish, use a UV or LED lamp designed specifically for curing gel nails.
Once your gel polish is cured, you can start stamping. The key is to use a very light hand when pressing the stamper onto your nail.
Too much pressure will cause the gel polish to smear. Also, make sure to roll the stamper off of your nail rather than lifting it straight up. This will help prevent any smudging as well.
With a little practice, you’ll be able to get beautiful results using gel polish on a nail stamper!
Credit: www.amazon.com
Nail Stamper French Tip
Nail stamping is a great way to add some pizzazz to your nails, and the French tip is a classic look that never goes out of style. Here’s everything you need to know about how to create this timeless manicure using a nail stamper.
First, start with clean, dry nails.
If your nails are oily, use a nail polish remover wipe to remove any excess oil. Then, apply a base coat of polish and let it dry completely.
Next, select the color you want for your French tips.
A white or light pink polish works well for this look. Once you have your color selected, paint your nails with two coats of polish, letting each coat dry completely before applying the next.
Now it’s time to stamp!
Use a clear top coat on your stamper and press it onto the desired image on your stamping plate. Be sure to use firm pressure so that the entire image is transferred onto your stamper. Carefully position the image on your nail where you want it and press down firmly again.
Repeat this step until all of your nails are stamped.
Finally, apply a clear top coat over your stamped nails to seal in the design and voila! You’ve got yourself a beautiful set of French tipped nails!
Conclusion
A nail art stamper is a tool that helps you apply designs to your nails. It consists of a handle, a stamping plate, and a scraper. To use it, you first need to choose a design from the stamping plate.
Then, you hold the handle of the stamper and press it onto the design. Finally, you use the scraper to remove any excess polish from your nails.